MAKING LAKE PIGMENT WITH MADDER: A HISTORICAL RECONSTRUCTION
The Making and Knowing Project, Columbia University
Last updated 2022-01-29 by NJR
As summarized in Activity Sheet: Making Lake Pigment with Madder, there are three historical recipe types for making lake pigment from madder. In Spring 2022, Naomi Rosenkranz and Charlotte Atkins undertook all three versions at once to make direct comparisons between them. Their field notes, working from the activity sheet, are presented below with extensive images of the process. They show the Making and Knowing Project’s method for reconstruction of the process of lake pigment making from madder roots in the M&K lab.
Refer to:
- Activity Sheet: Making Lake Pigment with Madder for the activity sheet with recipes and background information
- Presentation: Madder Lake: History, Chemistry, and Preparation for more complete information and further explanation of natural colorants and lake pigments
The recipes provided here are adapted from the ones provided in Jo Kirby et al, Natural Colorants for Dyeing and Lake Pigments: Practical Recipes and their Historical Sources (Archetype, London, 2014).
Modernized recipes, adapted for the laboratory (or kitchen)
From the late 14th century to the 17th century, madder lakes seem to be most commonly extracted from madder-dyed wool and not the roots (raw dyestuffs). Recipes from before (antiquity) and after (18th and 19th centuries) tend to extract from the roots directly. Thus, the modern recipes adapted here are from this later period.
There are three modernized versions of the historical recipes:
“Standard” - [Code: ML-Std in Natural Colorants]
- Extract madder in water, then add alum, precipitation of pigment with potash
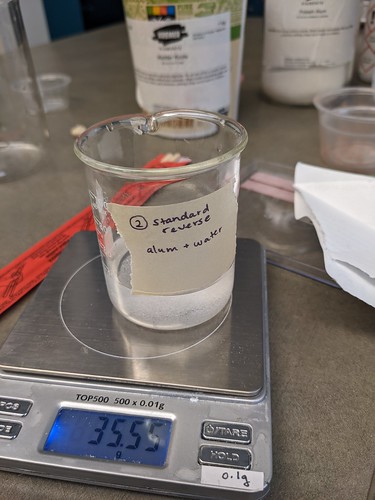
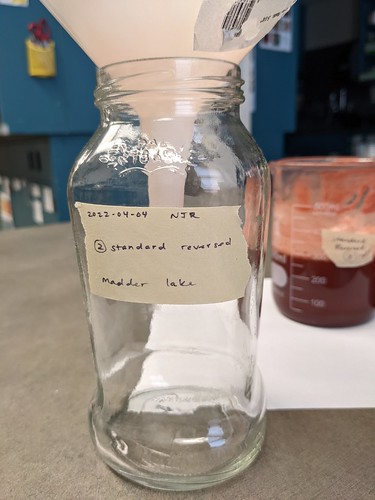
“Standard Reversed” - [Code: ML-EBAl in Natural Colorants]
Extract madder in water, then add potash, precipitation of pigment with alum
Color is said to be a very slightly redder, less brown than Standard
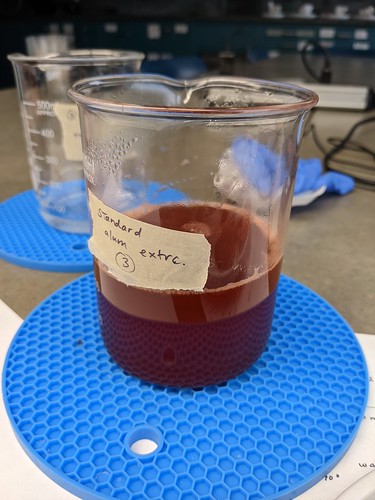
“Standard with Alum Extraction” - [Code: ML-Std in Natural Colorants]
Extraction of madder in alum, precipitation of pigment with potash
Color is said to be a brighter red than Standard
RECIPE 1: “Standard”
Materials and Equipment (Recipe 1)
- Mortar & pestle
- Hot plate
- 2 Beakers (at least 600ml)
- Pair of chopsticks or other stirring device
- Thermometer
- Funnel
- Filter (such as a basket coffee filter) or filter paper
- pH strips
- 300ml Water - for madder
- 50ml Water - for alum
- Drawstring bag (muslin or polyester netting is best)
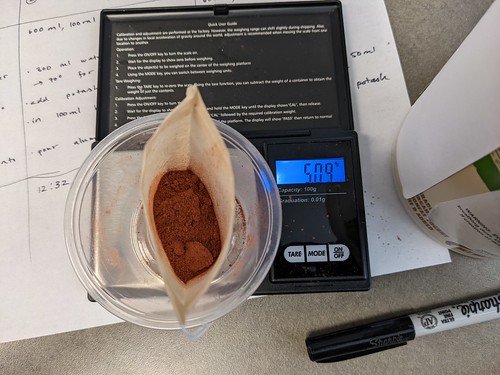
- 10g Madder roots (the Making and Knowing Project typically sources this from Kremer Pigments, Kremer #37201-madder-roots)
- 5g Alum (aluminum potassium sulfate, Kremer #64100-potash-alum)
- 1.88g Potash (potassium carbonate, Kremer #64040-potash)
Procedure (Recipe 1)
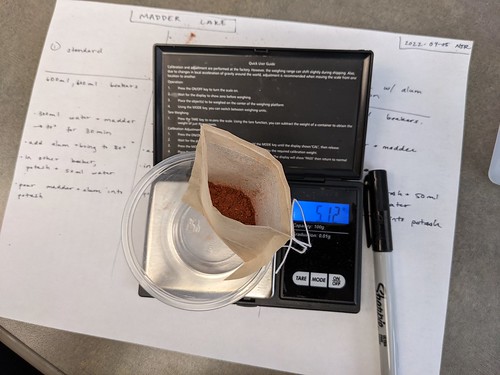
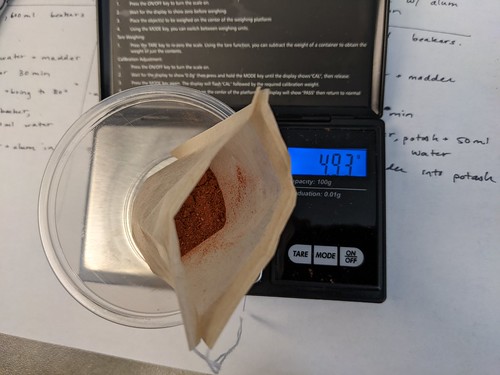
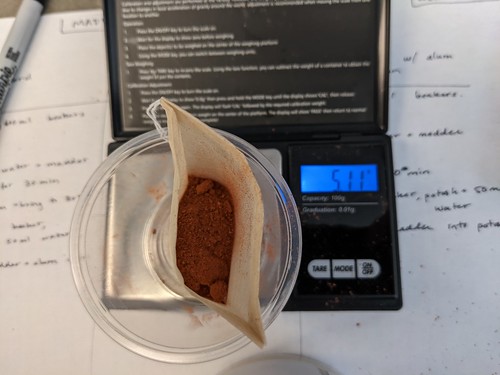
- Coarsely grind madder roots in mortar and pestle
- Using a small utensil, add madder to the drawstring bag. Close the bag tightly, but make sure there is enough room in the bag for the madder to move around freely. Use multiple bags if necessary
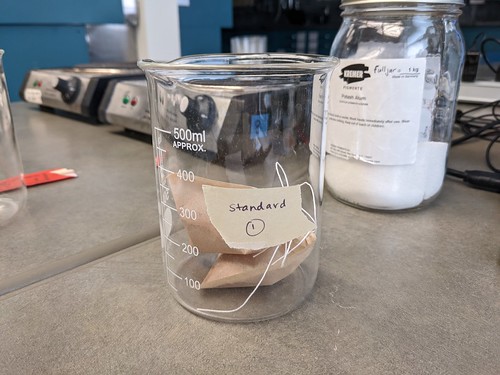
- Add 300ml water and bag of madder to 600ml beaker and leave to soak overnight
- NOTE: soaking overnight can be skipped for time constraints, but the amount of colorant extracted will be affected, possibly changing the the final pigment
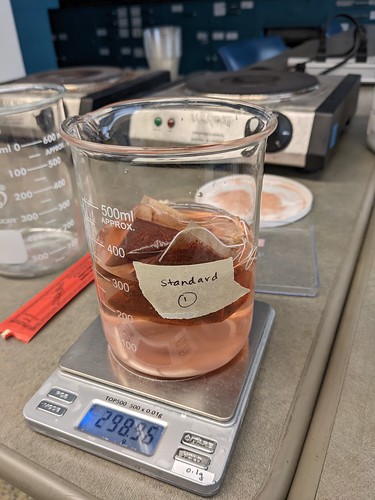
- After soaking overnight (if doing so), add alum and heat the madder+water+alum to 70°
- Keep at this temperature for 30 minutes to extract the dye
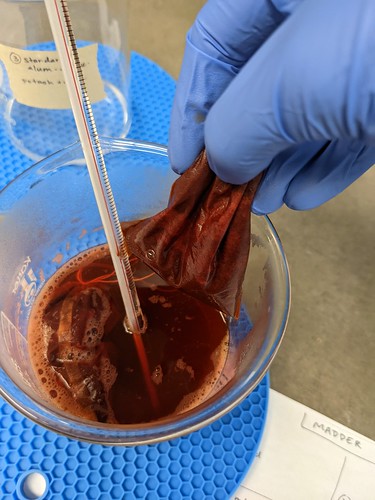
- Remove the drawstring bag, which can now be discarded

- Add 5g alum to the solution and bring to 80°

- In the other 600ml beaker, dissolve 1.88g potash in 50ml water over heat


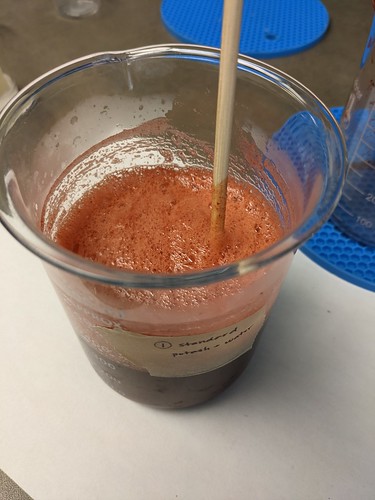
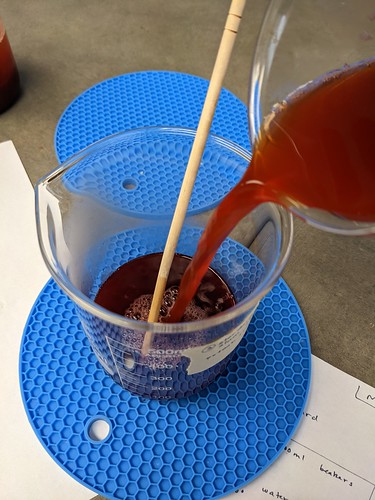
- Pour the madder+alum solution into the potash solution VERY GRADUALLY and STIRRING CONSTANTLY
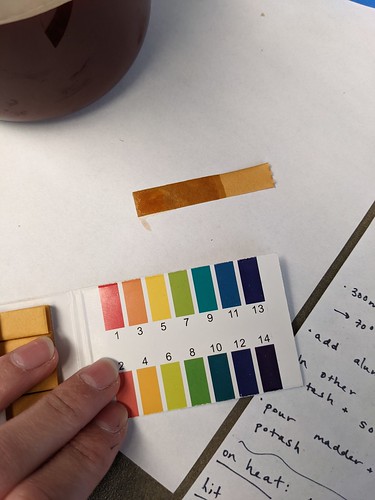
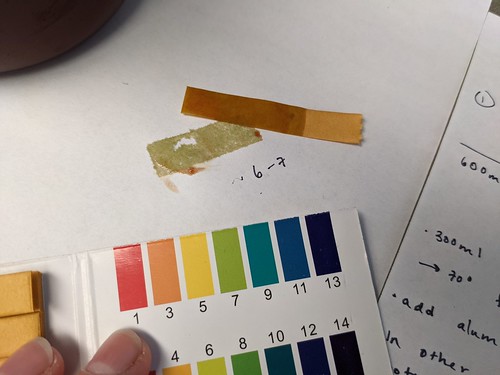
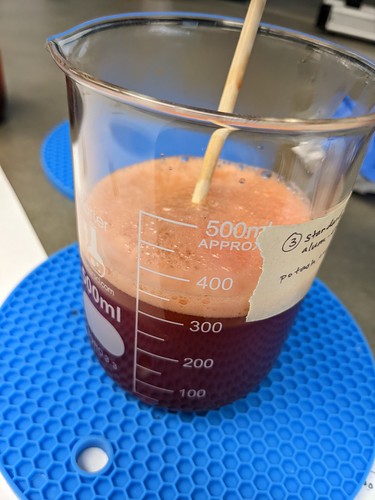
- Do this slowly and incrementally, checking the pH of the solution after each addition until a pH of 6-7, there is no further effervescence, and precipitation of the lake pigment appears to be complete


- Allow the solution to settle for at least 15min (ideally overnight)

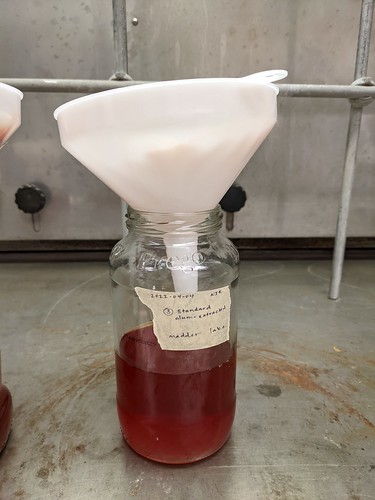
- Pour solution through filter in a funnel


- Once the liquid has drained through, wash the pigment: discard the filtrate and place funnel+filter over a clean container. Pour 100ml of clean water through the filter. Repeat until the filtrate is clear


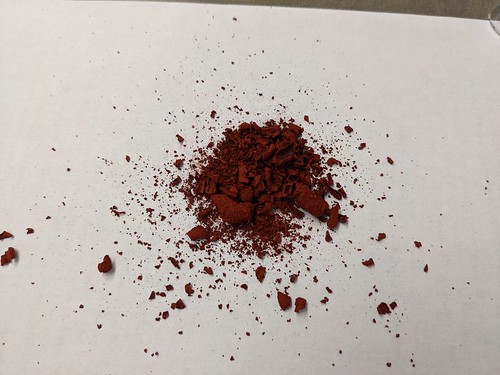
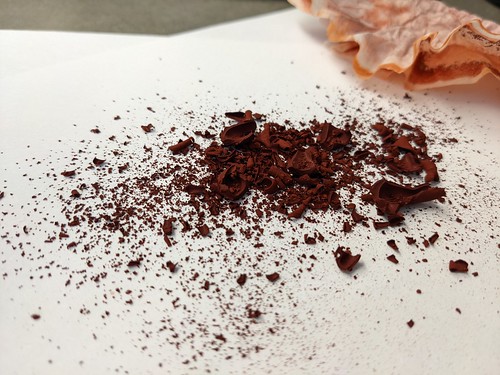
- Allow the pigment to dry on the filter (at least overnight), then scrape off and use


RECIPE 2: “Standard Reversed”
Materials and Equipment (Recipe 2)
- Mortar & pestle
- Hot plate
- 1 Beaker (at least 600ml)
- 1 Beaker (at least 100ml)
- Pair of chopsticks or other stirring device
- Thermometer
- Funnel
- Filter (such as a basket coffee filter) or filter paper
- pH strips
- 300ml - Water for madder
- 30ml - Water for alum
- Drawstring bag (muslin or polyester netting is best)
- 10g Madder roots (the Making and Knowing Project typically sources this from Kremer Pigments, Kremer #37201-madder-roots)
- 5g Alum (aluminum potassium sulfate, Kremer #64100-potash-alum)
- 1.88g Potash (potassium carbonate, Kremer #64040-potash)
Procedure (Recipe 2)
- Coarsely grind madder roots in mortar and pestle
- Using a small utensil, add madder to the drawstring bag. Close the bag tightly, but make sure there is enough room in the bag for the madder to move around freely. Use multiple bags if necessary

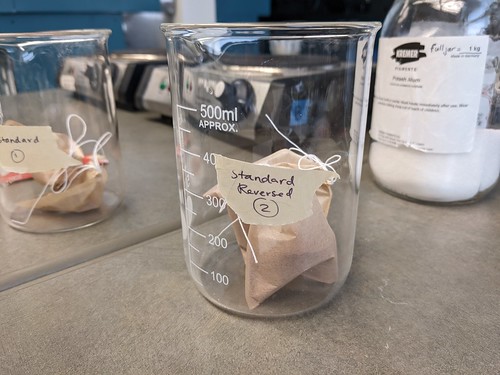
- Add 300ml water and bag of madder to 600ml beaker and leave to soak overnight
- NOTE: soaking overnight can be skipped for time constraints, but the amount of colorant extracted will be affected, possibly changing the the final pigment

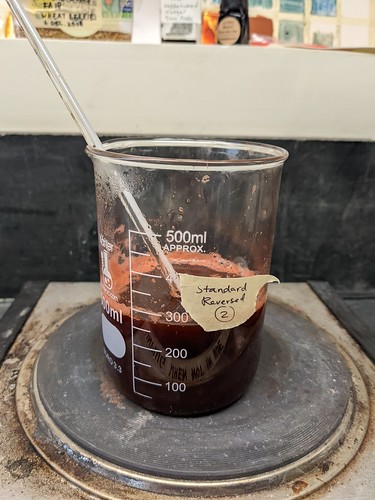
- After soaking overnight (if doing so), heat the madder+water to 70°

- Keep at this temperature for 30 minutes to extract the dye
- Remove the drawstring bag, which can now be discarded

- Add 1.88g potash to the solution and bring to 80°
- In the 100ml beaker, dissolve 5g alum in 30ml water over heat

- Pour alum solution into the madder+potash solution VERY GRADUALLY and STIRRING CONSTANTLY
- Do this slowly and incrementally until there is no further effervescence, and precipitation of the lake pigment appears to be complete. Check the pH of the solution, which should be about 6


- Allow the solution to settle for at least 15min (ideally overnight)

- Pour solution through filter in a funnel

- Once the liquid has drained through, wash the pigment: discard the filtrate and place funnel+filter over a clean container. Pour 100ml of clean water through the filter. Repeat until the filtrate is clear


- Allow the pigment to dry on the filter (at least overnight), then scrape off and use


RECIPE 3: “Standard with Alum Extraction”
Materials and Equipment (Recipe 3)
- Mortar & pestle
- Hot plate
- 2 Beakers (at least 600ml)
- Pair of chopsticks or other stirring device
- Thermometer
- Funnel
- Filter (such as a basket coffee filter) or filter paper
- pH strips
- 300ml - Water for madder
- 50ml - Water for potash
- Drawstring bag (muslin or polyester netting is best)
- 10g Madder roots (the Making and Knowing Project typically sources this from Kremer Pigments, Kremer #37201-madder-roots)
- 5g Alum (aluminum potassium sulfate, Kremer #64100-potash-alum)
- 1.88g Potash (potassium carbonate, Kremer #64040-potash)
Procedure (Recipe 3)
- Coarsely grind madder roots in mortar and pestle
- Using a small utensil, add madder to the drawstring bag. Close the bag tightly, but make sure there is enough room in the bag for the madder to move around freely. Use multiple bags if necessary

- Add 300ml water and bag of madder to 600ml beaker and leave to soak overnight
- NOTE: soaking overnight can be skipped for time constraints, but the amount of colorant extracted will be affected, possibly changing the the final pigment

- After soaking overnight (if doing so), add 5g alum
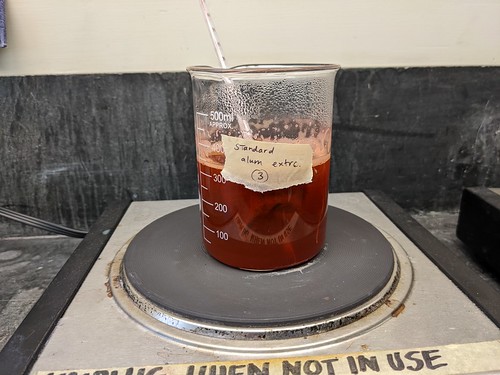
- Heat the madder+alum to 70°


- Keep at this temperature for 30 minutes to extract the dye
- Remove the drawstring bag, which can now be discarded
- In the other 600ml beaker, dissolve 1.88g potash in 50ml water over heat

- Pour madder+alum solution into the potash solution VERY GRADUALLY and STIRRING CONSTANTLY
- Do this slowly and incrementally until there is no further effervescence, and precipitation of the lake pigment appears to be complete. Check the pH of the solution, which should be about 6
- Make sure both solutions are still hot (at least 70-80°) when combined because the dye may begin to precipitate out below this temperature


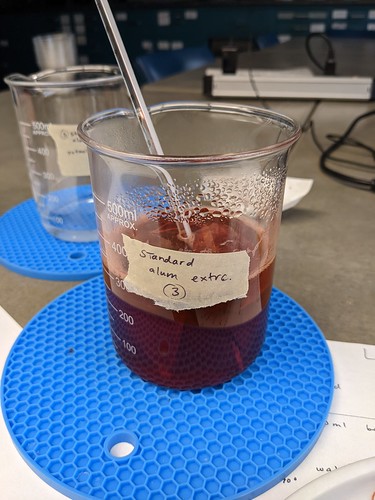
- Allow the solution to settle for at least 15min (ideally overnight)

- Pour solution through filter in a funnel


- Once the liquid has drained through, wash the pigment: discard the filtrate and place funnel+filter over a clean container. Pour 100ml of clean water through the filter. Repeat until the filtrate is clear


- Allow the pigment to dry on the filter (at least overnight), then scrape off and use


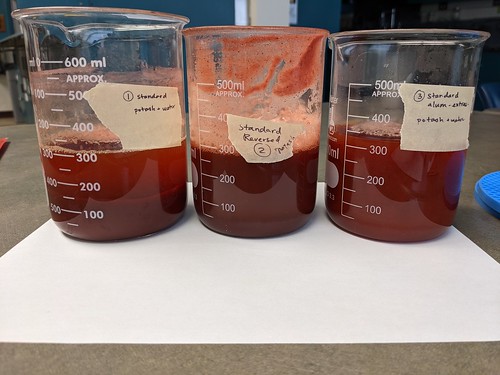
A Visual Comparison of Recipes 1, 2, and 3
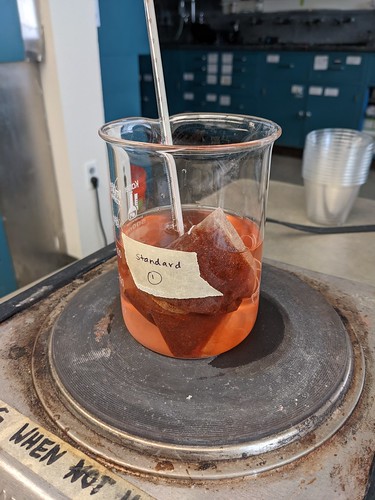
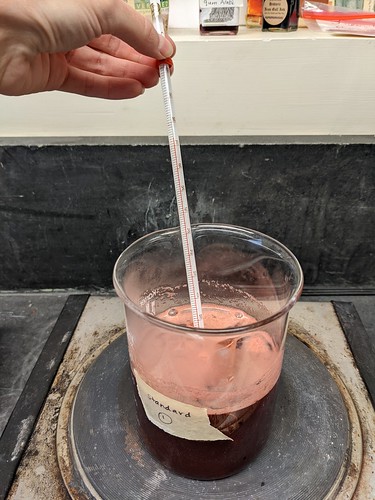
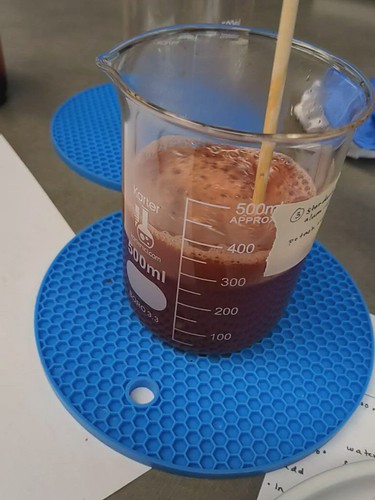
Heating solutions to extract dye
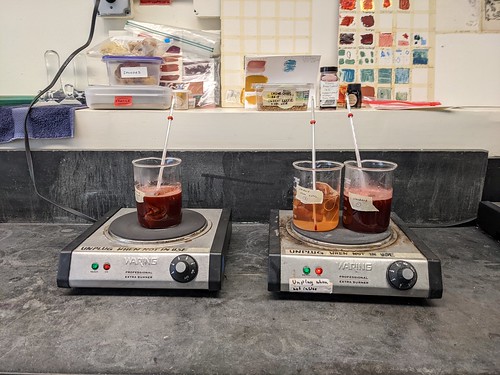
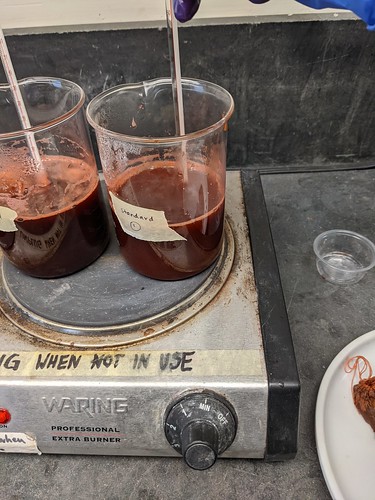
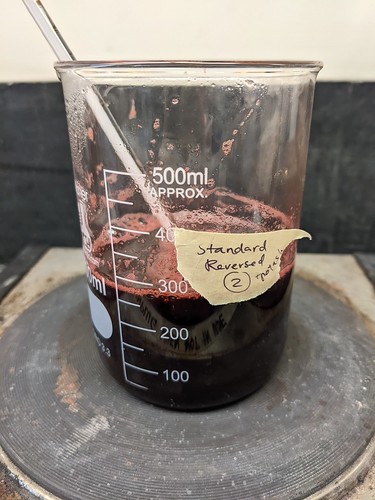
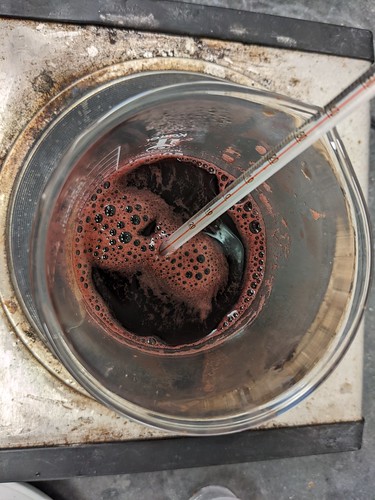
Solutions after heating for half hour

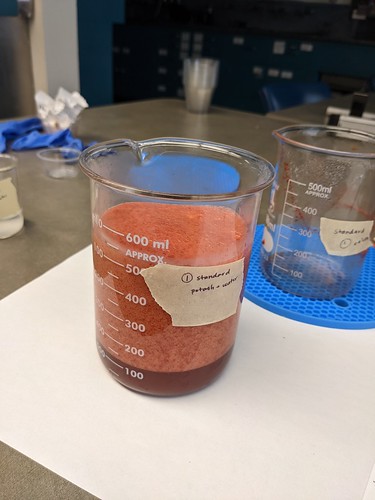
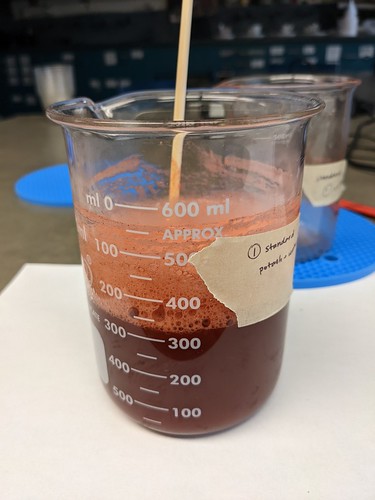
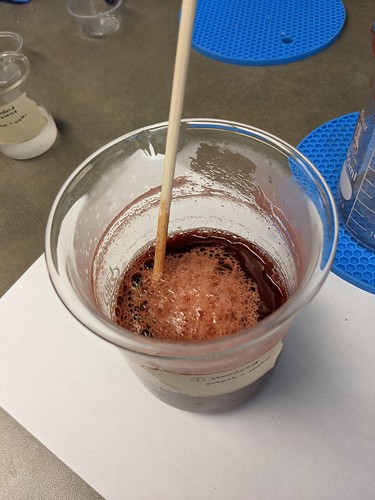
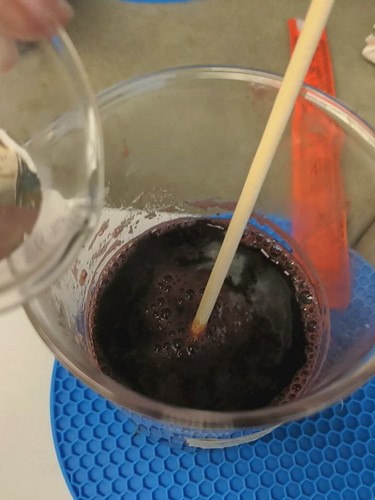
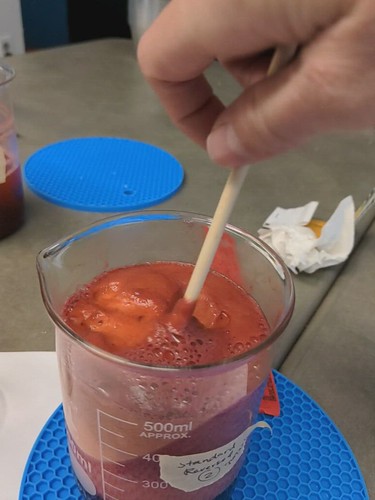
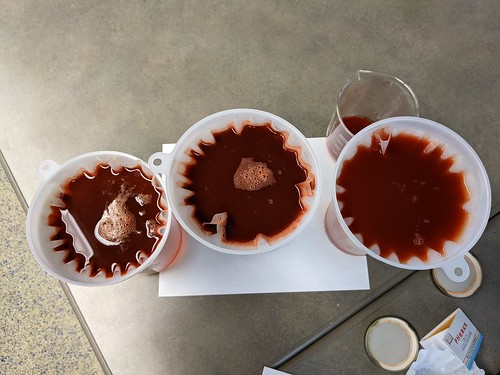
Beakers after solutions have been combined and foam has settled

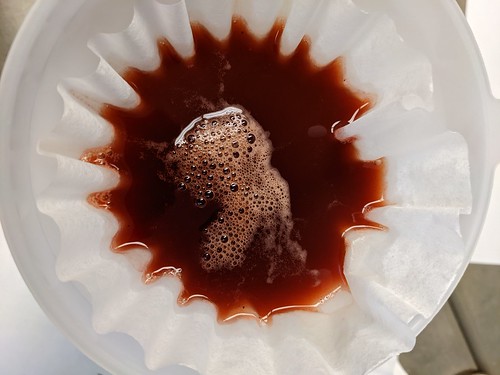
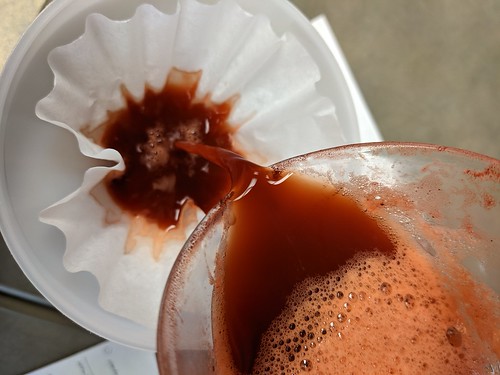
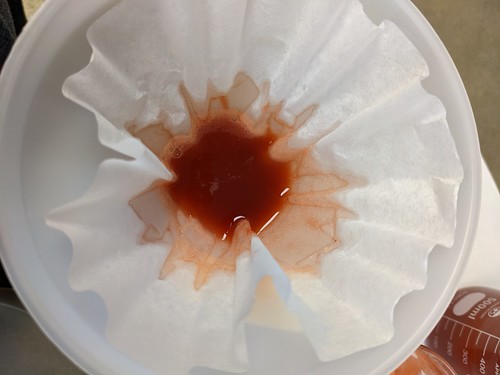
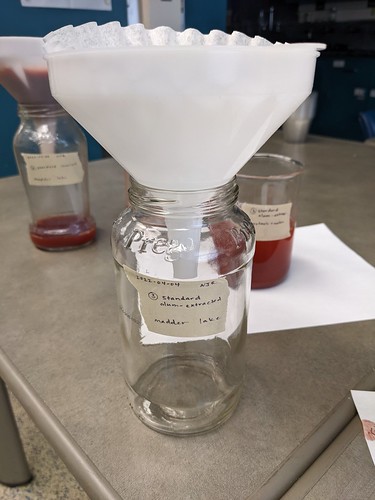
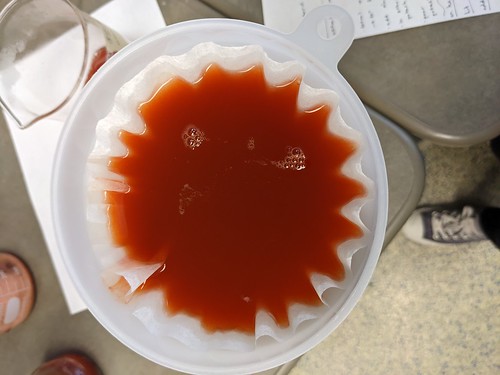
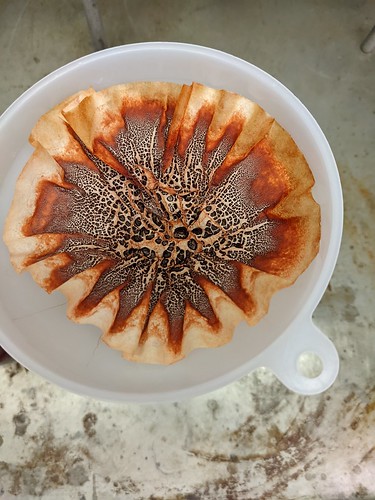
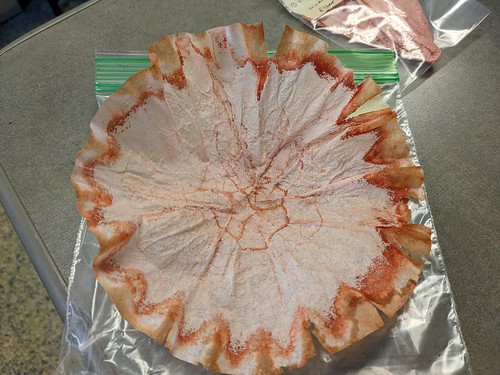
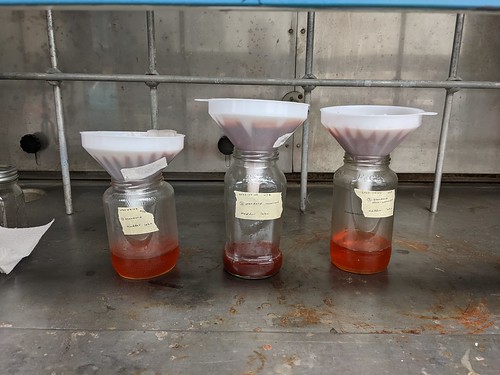
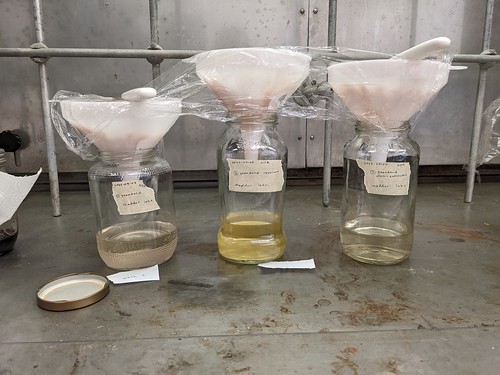
Solutions poured through filters


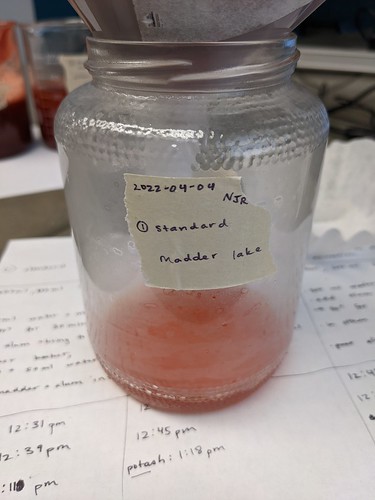
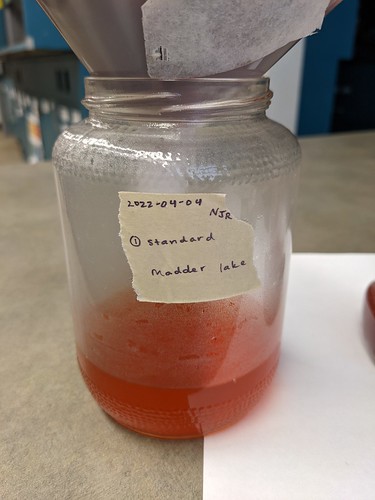
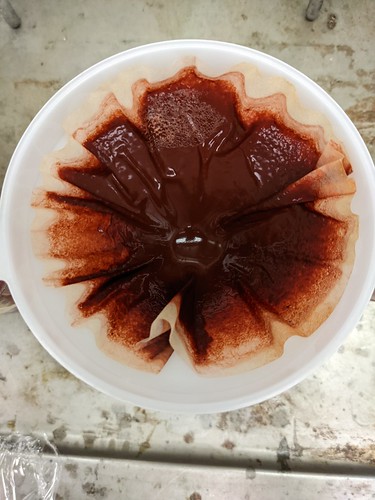
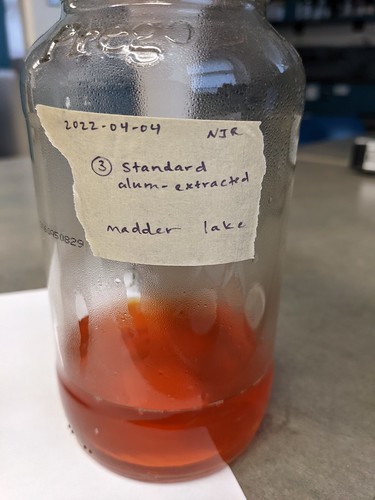
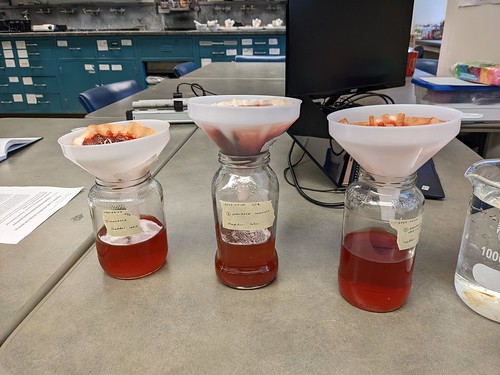
Solutions three days later


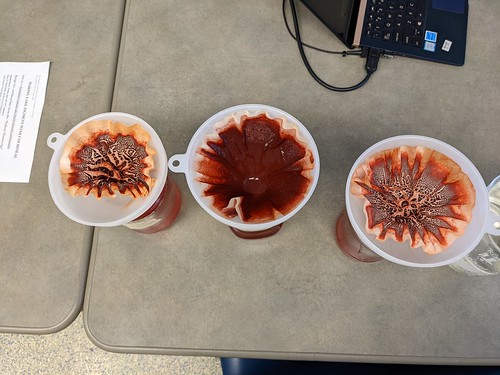
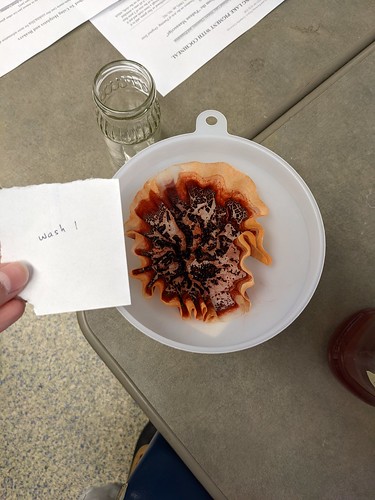
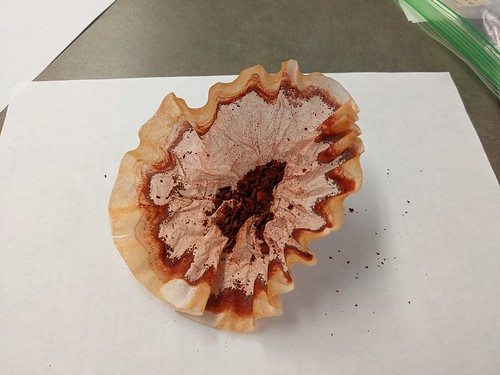
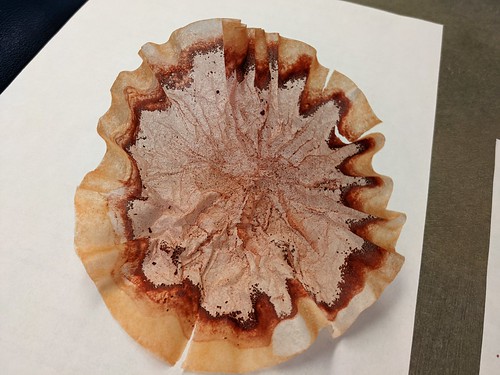
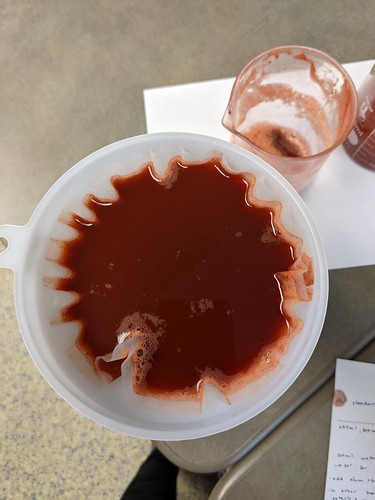
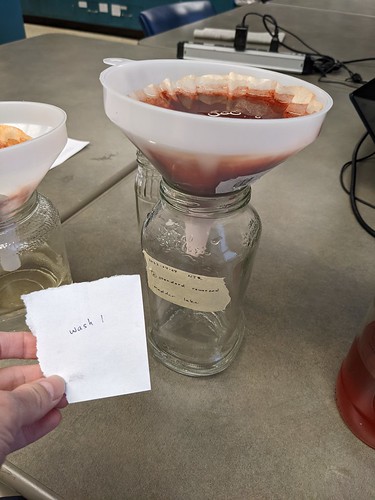
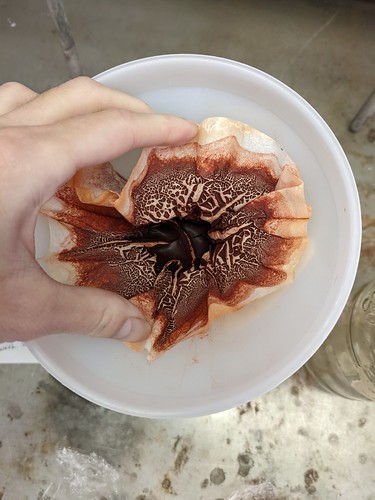
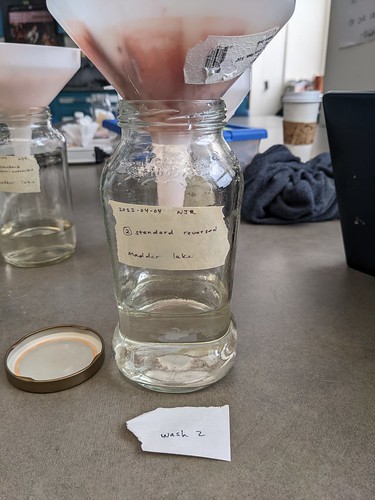
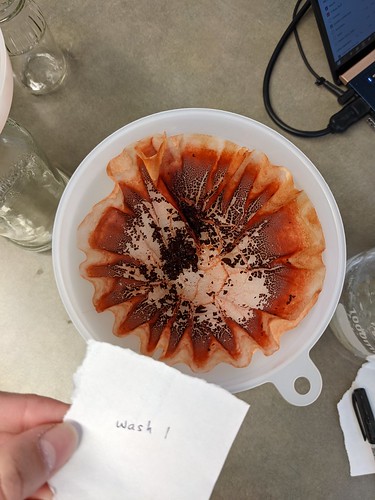
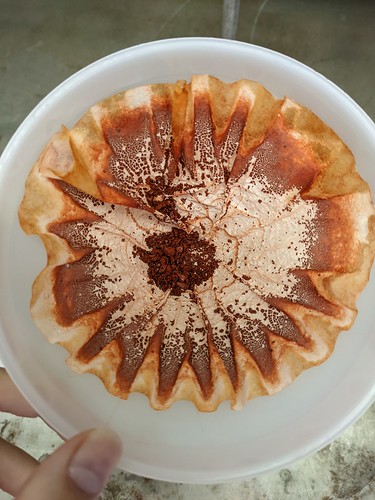
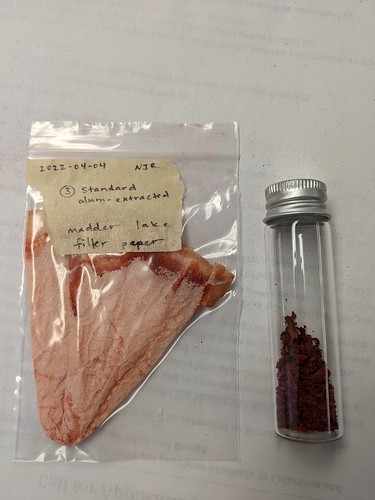
Pigments during wash

Recipes 1 and 3 are shown in wash #2, Recipe 2 is shown in wash #1
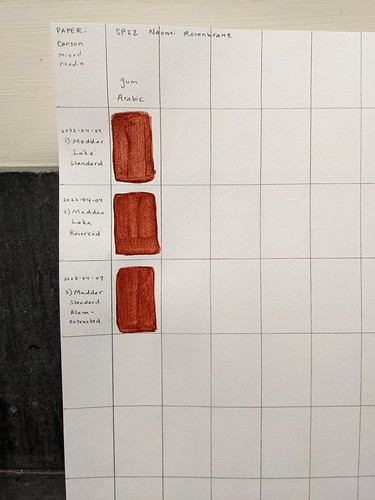
Lake Painting
22/04/2022

25/04/2022
An Alternative Method To Using Hotplates and Beakers
If you do not have access to hotplates and heat-safe glass beakers, an alternative method uses a water bath or bain-marie (see this cooking blog for more information about bain-maries).
Process
- On your stove at home, prepare your solutions in mason jars (or other glass jars that can withstand prolonged heating such as pickling or jam jars).
- Place the jars in a large cooking pot (the pot’s material doesn’t matter – can use steel, ceramic, etc.)
- NOTE: be careful about using these pots to prepare foods after you have dyed with them if you are working with materials that are not food safe.
- NOTE: the natural colorants can stain light-colored surfaces, so be careful if using ceramic or glass pots.
- Fill the pot with enough water to come up past the solutions in your mason jars, being careful not to contaminate the solutions inside your jars
- Heat the pot on your stove and follow the procedure for preparing lake pigments
Advantages and Notes
- This is one way to prepare pigments at home without beakers or other shock-resistant containers
- Beakers, Pyrex, and other borosilicate glass is specially formulated to withstand direct high heat (like when placed directly on a hot plate) as well as shocks or sudden changes in temperature (like placing a hot glass vessel with your bath onto a cold surface like a counter)
- Regular glass, including mason jars, are not formulated in this way, and so it can be very dangerous (and messy) if used in the same way as beakers – direct high heat or sudden change can cause the glass to shatter
- This method also allows for easier preparation without a thermometer
- The temperature of your baths is determined by the temperature of the water in the pot
- You will know the baths have approximately reached the desired temperature range of 80-100 °C when the water in the pot is beginning to simmer
- Because water boils and begins to evaporate at 100 °C, your solutions will never exceed 100 °C, the temperature at which the colorants can begin to degrade. This is an easy way to prepare solutions without a thermometer and ensure you are not reaching high temperature levels
- If the water in the pot begins to boil or simmer violently, your jars will start to shake and move around the pot. If this happens, it is a sign to turn your heat down